How To Topic 17 · Lighting AR
How to Add Lighting to an HxAR AR Experience
Lighting AR adds simulated light to an editable AR Experience scene. Its Strength, Reach and dimensions control the visual scene; they are not lumens, lux, surveyed measurements or controls for real lighting equipment.
What this guide achieves
Create and position a Bulb or Panel light, save the local scene deliberately and verify every free or asset-tied light in the uploaded Shared Story.
- Topic
- 17
- Starting point
- A saved device-local AR Experience scene containing at least one available 3D asset
- Guide time
- About 13 minutes
- Screen status
- Development feature guide
Quick walkthrough
Light a saved AR Experience scene in thirteen steps.
Open the saved scene again inside Lighting AR, build one light deliberately, save before leaving and test the shared result.
- 01
Prepare and save the scene
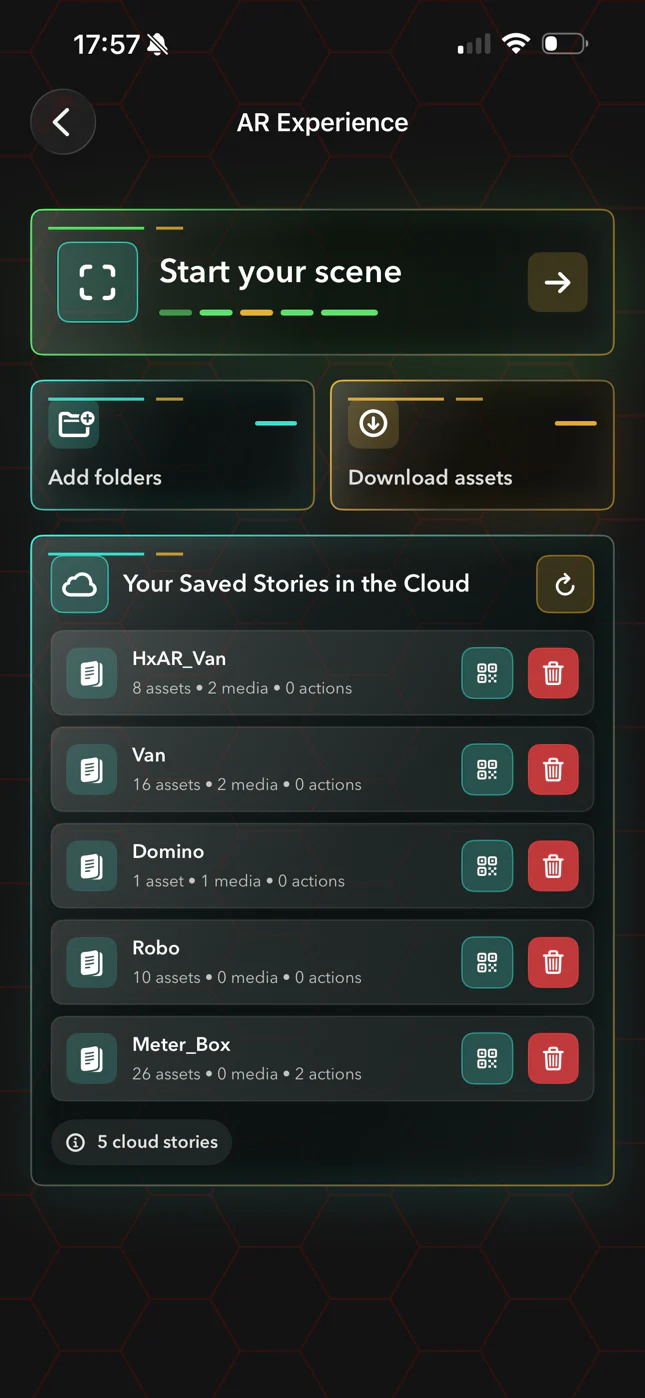
In AR Experience, create or open a scene containing at least one available 3D asset and save it locally.
- 02
Open Lighting AR
Select the yellow lightbulb at the upper right of the scene editor.
- 03
Open the scene again
Lighting AR starts as a separate editor and does not receive the scene already open behind it. Use its Open control to open the saved scene again.
- 04
Open Lights
Select the lightbulb control, then Create Light. A new light appears approximately 45 centimetres in front of the camera.
- 05
Choose Bulb or Panel
Use Bulb for a round glow or Panel for a directed beam. The Selection Guide can show a clear bubble around the selected light.
- 06
Choose colour and power
Use Warm, White, Amber, Red, Blue, Green or Purple and leave Light On while adjusting the result.
- 07
Set Strength and Reach
Strength ranges from 100 to 5,000. Reach ranges from 0.05 to 3 metres for Bulb and 0.05 to 15 metres for Panel.
- 08
Adjust the shape
For Bulb, set size and 20–100 percent coverage. For Panel, set width, height, depth and Solid, Border or Round emitting style.
- 09
Move and aim the light
Select the light, choose a movement step and use the movement and turn controls. Use Location only when you understand the X, Y, Z and orientation values.
- 10
Optionally tie it to an asset
In Lights, choose Tie To Asset. A tied light follows that asset; Untie returns it to independent scene placement.
- 11
Save before leaving
Select Save, wait for the confirmation and then leave. Do not rely on the 0.8-second autosave for the final change.
- 12
Reopen and inspect
Reopen the saved scene if the parent editor does not immediately show the change. Check position, power, reach and performance.
- 13
Upload and test the shared copy
Upload or reupload separately, then open the cloud Story on a supported device and verify every light—especially lights tied to assets—before sharing its QR.
Lighting AR is a separate editor, so open the scene twice
First save a scene containing at least one 3D asset through AR Experience. Select the yellow lightbulb to enter Lighting AR, then use Lighting AR’s own Open control to choose that saved scene again.
The Lighting editor does not receive the scene that was open behind it. A lights-only or empty scene cannot be opened. If an asset file is unavailable, avoid moving the whole scene because a later save can omit the asset that failed to load.
Returning from Lighting AR refreshes the scene list but does not always reload the parent scene. Reopen it when the new lights are not immediately visible.
Choose Bulb for a glow or Panel for a directed beam
Bulb begins as a four-centimetre round light with full coverage. Lower coverage turns the result into a more directional effect. Size can range from 1 to 200 centimetres and coverage from 20 to 100 percent.
Panel begins at 5.6 × 3.8 centimetres with a 6-millimetre depth. Width and height can range from 1 to 200 centimetres and depth from 2 to 250 millimetres. Solid emits across the whole face, Border leaves a rectangular open centre and Round uses a rounded open centre.
A legacy Bar type can exist in old saved data but is treated as Panel and cannot be chosen for a new light.
Bulb reach
0.05–3 metres in 0.05-metre steps.
Panel reach
0.05–15 metres in 0.5-metre steps.
Strength
100–5,000 in steps of 100. The app displays no physical unit, so do not call this lumens or lux.
Name, position and tie lights by their purpose—not colour alone
Seven named presets—Warm, White, Amber, Red, Blue, Green and Purple—make the choice understandable without relying only on the colour swatch. Light On or Off controls whether the selected light emits.
Movement steps are 0.1, 1, 10, 25, 50 or 100 millimetres, with matching turn increments from 0.01° to 10°. The Location card exposes X, Y, Z, Angle, Wheel and quaternion orientation for advanced adjustment.
Tie To Asset stores the light relative to the chosen model so it follows that asset. Untie it before positioning independently. A tied light can later be assigned a vehicle-light purpose in Drive Group.
Save deliberately because individual lights cannot be deleted
Lighting changes schedule a local autosave after approximately 0.8 seconds. Manual Save writes the same local scene and displays a summary. Tap Save, wait for confirmation and then leave because there is no final save flush when the screen closes.
The current Lighting AR editor has no Delete Light control and no undo. Light Off disables emission; it does not remove the light. The trash control in the scene picker deletes the entire local scene after confirmation.
There is no hard light limit. The performance classifier changes at 12, 24 and 40 lights, but complex panels or partial-coverage bulbs can use several emitters while still counting as one saved light. Prefer the smallest number that achieves the intended effect.
Reupload separately and verify every tied light
Lighting saves are device-local and do not update an already-uploaded Story. Reupload through AR Experience when the local result is ready.
The reviewed upload resolver can change a scene asset’s internal identity without updating a light’s stored asset tie. A tied light can consequently lose that relationship in the shared copy and appear in the wrong place.
Treat the uploaded Shared Story as a separate test build: open it, trigger any moving asset, inspect every tied light and distribute the QR only after that copy works.
Lighting AR is a visual simulation, not real illumination
Strength, Reach, dimensions and coordinates control a virtual effect. They are not photometric, engineering or safety measurements and do not illuminate the real room. Work in a genuinely well-lit, clear space and remain aware of people, furniture and steps.
Avoid rapid or repeated flashing, especially when lights will be used as vehicle signals or animated effects. Preview on a supported device and stop if any effect causes discomfort.
Several controls have accessibility labels and every colour has a text name, but contextual labels are missing from some minus and plus buttons, several targets are below 44 points and fixed panels may not adapt well to Larger Text. No separate HxElectrum or Hexagon Token charge was found for Lighting AR in the reviewed build.
Guide path
Move through HxAR one topic at a time.
New topics will be linked back into earlier guides whenever one action leads naturally to another.
Helpful now