
How To Topic 39 · House services
How to Use Gas Meters, Boilers and Hidden Pipework in HxAR
Follow the gas service from the outside meter box to a boiler inside your HxAR house. Learn how the virtual pipe route is built, how to reveal pipework behind finished walls and floors, and how to return to the normal interior view.
What this guide achieves
Model a gas meter and boiler, inspect their connection and switch concealed pipework between hidden and revealed views.
- Topic
- 39
- Starting point
- A published HxAR house with interior access, signed in as the owner of all its land
- Guide time
- About 12 minutes
- Screen status
- Next app update preview
Quick walkthrough
Follow the virtual gas service in ten steps.
Use the exterior tools for the meter box, then the interior’s Gas boiler and Plumbing visibility tools for the boiler and pipe route.
- 01
Open the house’s wall options outside
Visit the house in the HxAR Metaverse and select a suitable exterior wall. In Wall Options, choose Add Gas Meter/Box. Select the wall surface rather than a door to see the meter-box options.
- 02
Position and save the gas meter box
Set Box centre along wall and Box centre above this floor, then choose the available Copper gas pipe diameter. Positioning the box also positions its rear pipe entry. Choose Save Gas Meter/Box and wait for checking and saving to finish.
- 03
Enter the house and choose the tools
Approach the entrance on foot and wait for House Interior. Open the list icon, select Plumbing visibility and Gas boiler in Toolbar tools, then choose Done. Editing requires the owner account; tools can depend on the selected surface.
- 04
Reveal the plumbing
Tap Plumbing visibility, the pipework icon with an eye indicator. Wait for the view to update. This reveals available gas and water routes through finished walls and floors; the lightning icon controls electricity separately.
- 05
Build the route from the meter’s inner entry
From inside, tap the gas pipe entry. Turn the direction ring and confirm, then choose Use default or enter a distance and choose Place. Continue from the endpoint to add a supported floor run or fitting. Follow the app’s placement messages when a route cannot fit.
- 06
Place the gas boiler
Tap a suitable interior wall to make the Gas boiler tool available, then open it. Place the boiler on the inside face of an exterior wall, adjust its preview and check its clearances. Choose Add gas boiler; use Done when editing an existing boiler.
- 07
Check the gas connection and warnings
Tap the boiler casing to reopen its placement panel and read the Gas, Flow and Return status. The gas join is automatic only when a compatible nearby pipe and clear connection route exist. A yellow warning on the casing requires checking the doorway and flue-clearance messages; it is separate from connection and save status.
- 08
Inspect a concealed pipe
With Plumbing visibility on, tap a revealed concealed pipe. The Concealed pipe panel identifies the circuit and diameter, plus its centre depth behind the wall or below the floor where available. Close the details with Done.
- 09
Hide the reveal and compare the finished room
Tap Plumbing visibility again to return its indicator to Hidden. The reveal disappears and the finished surfaces cover concealed sections again. This changes what you see; it does not remove the saved route or move pipework into a different position.
- 10
Save the house
Use Save house after route changes and wait for House saved or the saved checkmark. Add gas boiler and Done also attempt a save. If Save not confirmed appears, retry before leaving. Exit house attempts to save pending changes and lets you stay inside if saving fails.
Start at the outside gas meter box
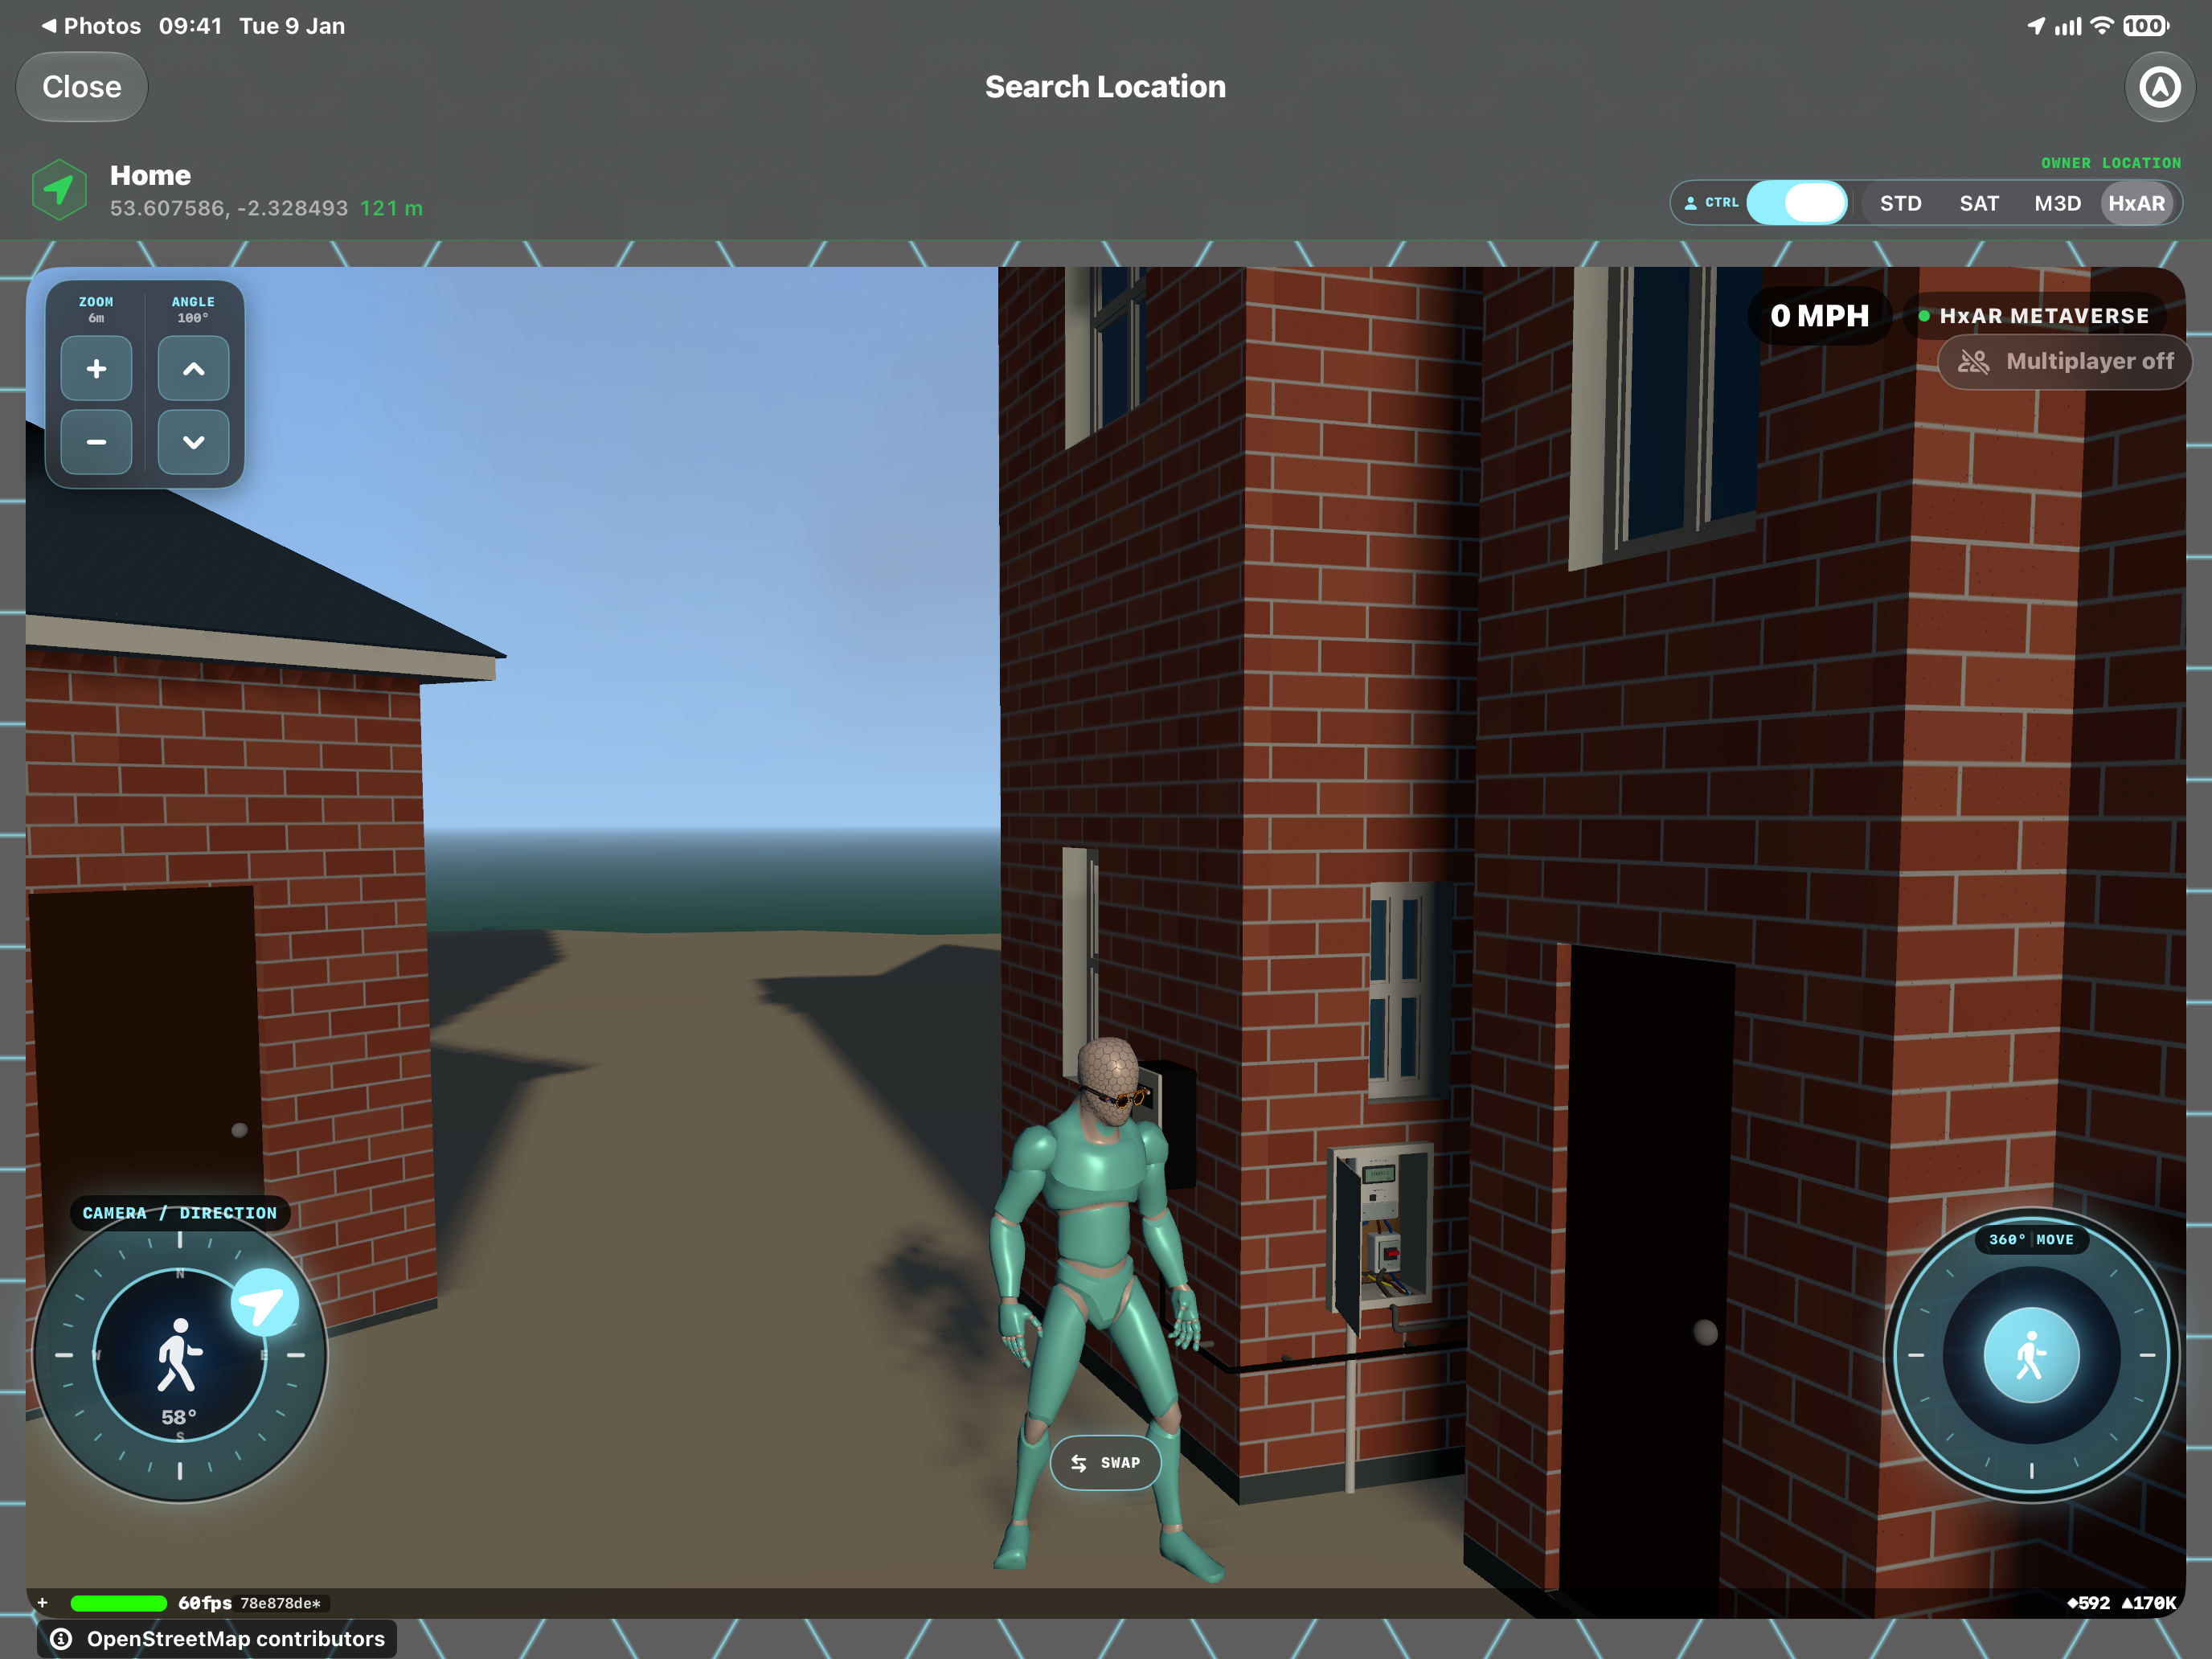
Gas and electricity have separate entries in Wall Options. Choose Add Gas Meter/Box for the gas service; Add Electric Meter Box creates a different service. The outside screenshot includes meter cabinets and other pipework, so use the menu label to identify the service you are editing.
The gas-box panel controls its position along the wall, height above the selected floor and copper pipe diameter. Its rear pipe entry moves with the box. Check the preview and any validation message, then use Save Gas Meter/Box.
This workflow starts with a house already placed in the HxAR Metaverse. Article 37 explains House Plan and publication; article 38 explains entry and the interior toolbar.
Follow the route from meter to boiler
Enter the house and switch on Plumbing visibility before working on the internal gas route. Tap the pipe’s entry from the inside to orient the first bend with the direction ring. The length panel offers Use default or a custom distance in millimetres with Place.
Continue from a pipe endpoint. Where supported, Pipe end offers Tee fitting, Bend fitting, Straight fitting and Long bend. Some options are unavailable for particular pipe sizes or exposed runs. Use the enabled choices and read the placement reason when a direction or length does not fit.
The boiler needs a compatible nearby gas segment and a clear joining path. A concealed floor run alone is not a boiler connection target: continue the route to a suitable wall or exposed segment near the boiler. The placement panel reports whether Gas is connected.
Gas connected confirms the local join at the boiler. It does not by itself confirm a continuous route all the way back to the meter. Use Gas pipe sizing when you want the app’s separate assessment of that route.
Place the boiler and read its status
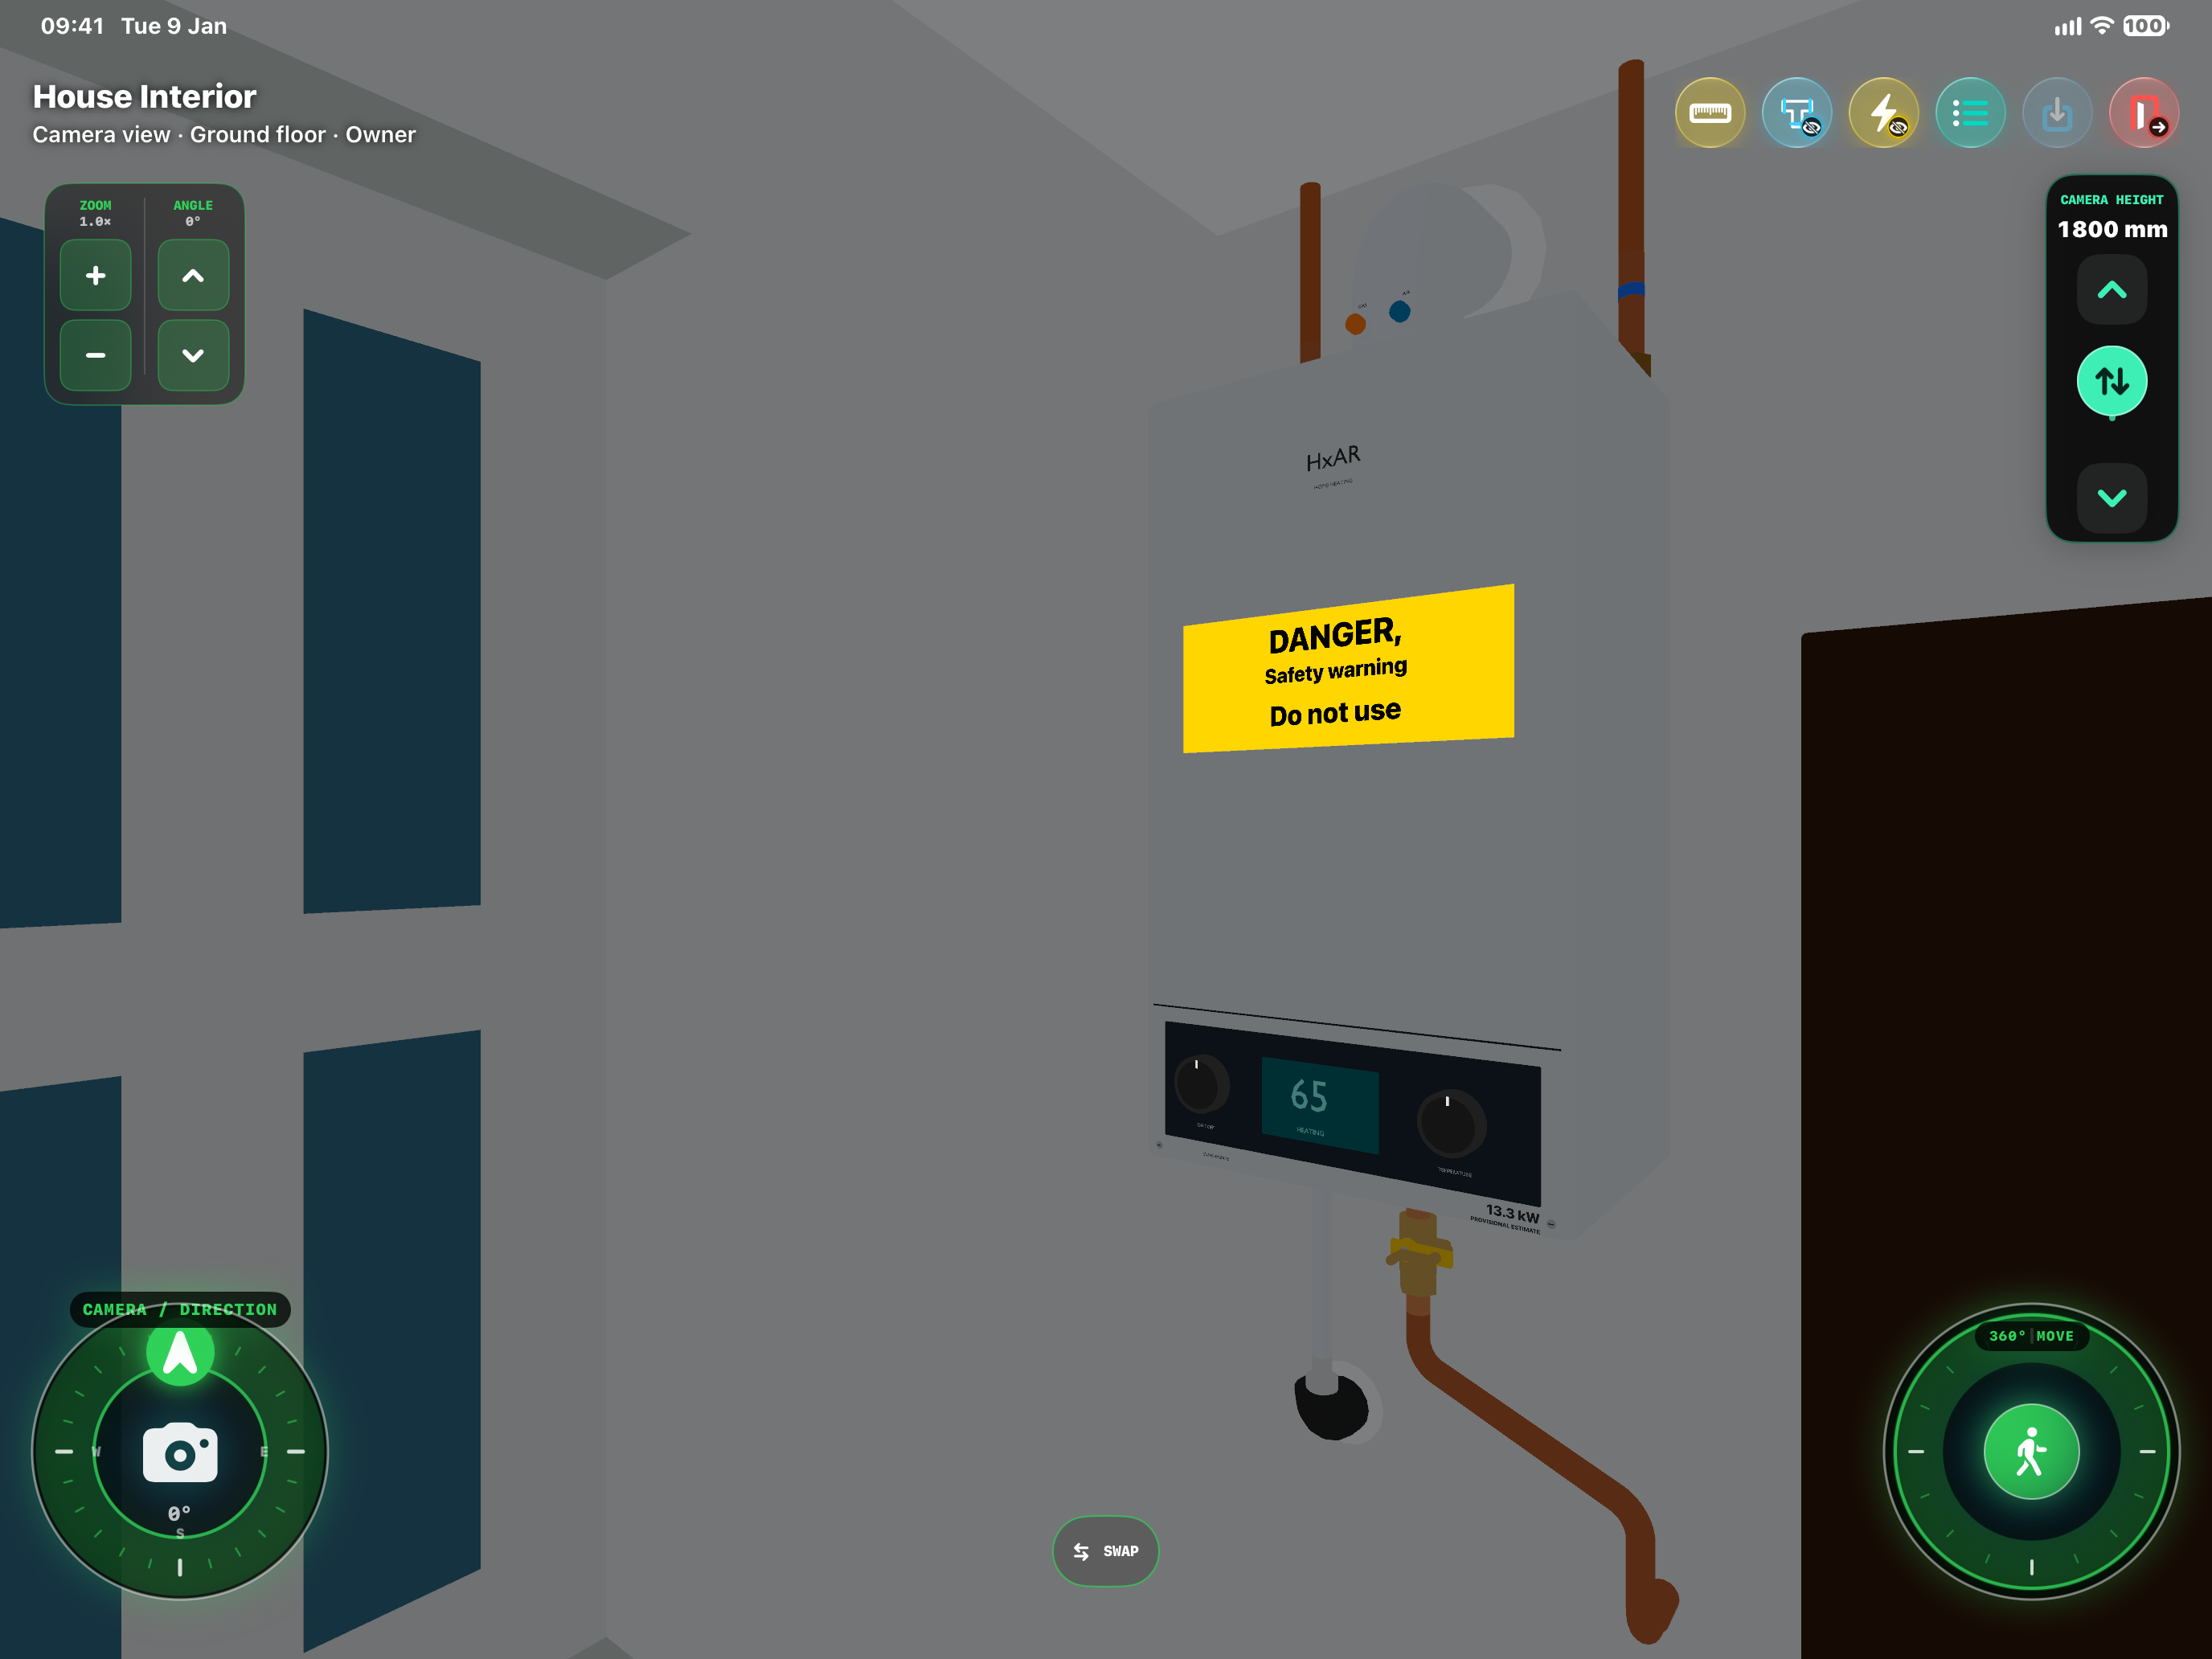
Choose Gas boiler in Toolbar tools, select a suitable wall surface and open the flame tool. In the placement preview, tap the inside face of an exterior wall within reach. Drag the boiler along the wall or choose another exterior wall, then inspect the centre-height and side-gap readouts.
The current boiler model uses a rear flue: its outside terminal follows placement. The panel also reports the condensate route when one can be formed. Gas, heating Flow and Return are separate connections; adding the boiler does not complete every service automatically.
The supplied screenshot shows a yellow DANGER / Do not use label. In this app model it flags a nearby doorway or flue-terminal clearance warning. Read the detailed placement message and adjust the model as needed. The label can appear on a saved boiler and is not an indication that a save failed.
Choose Add gas boiler for a new item or Done after editing. Read the save outcome. These are virtual design checks; the model’s warnings and reports do not certify a physical gas installation.
Reveal hidden pipes, then restore the finished view
Open the list icon and select Plumbing visibility in Toolbar tools if its button is missing. The pipework icon offers Shown and Hidden states. It is available when the house has relevant gas or water services; choosing it for the toolbar does not create a pipe route.
Tap it to reveal concealed plumbing through finished walls and floors in the rooms available to the interior view. Allow any loading message to finish. Walk through the house and open connecting doors as needed to inspect another part of the route.
Tap the same control again to hide the reveal. Concealed pipes are covered by the finished surfaces again, while ordinary visible fittings belong to the model’s normal view. Hiding the overlay does not delete plumbing or change a concealed installation into exposed pipework.
The lightning button is Electricity visibility. Switching to electricity hides the plumbing reveal; switching back to plumbing hides electricity. Select the service you want to inspect rather than expecting both overlays at once.
Read the pipe information through the surface
With Plumbing visibility shown, tap a revealed concealed segment to open Concealed pipe. It identifies the service, such as Gas, and the diameter. Where the model has a supporting wall or floor reference, it also gives the pipe centre’s depth behind the wall or below the floor.
A dashed portion indicates a section passing underneath another pipe. These readings describe the geometry saved in the virtual house. Tapping an exposed fitting or endpoint can open its editing controls instead of the concealed-pipe information panel.
Check the exterior and the gas-pipe report
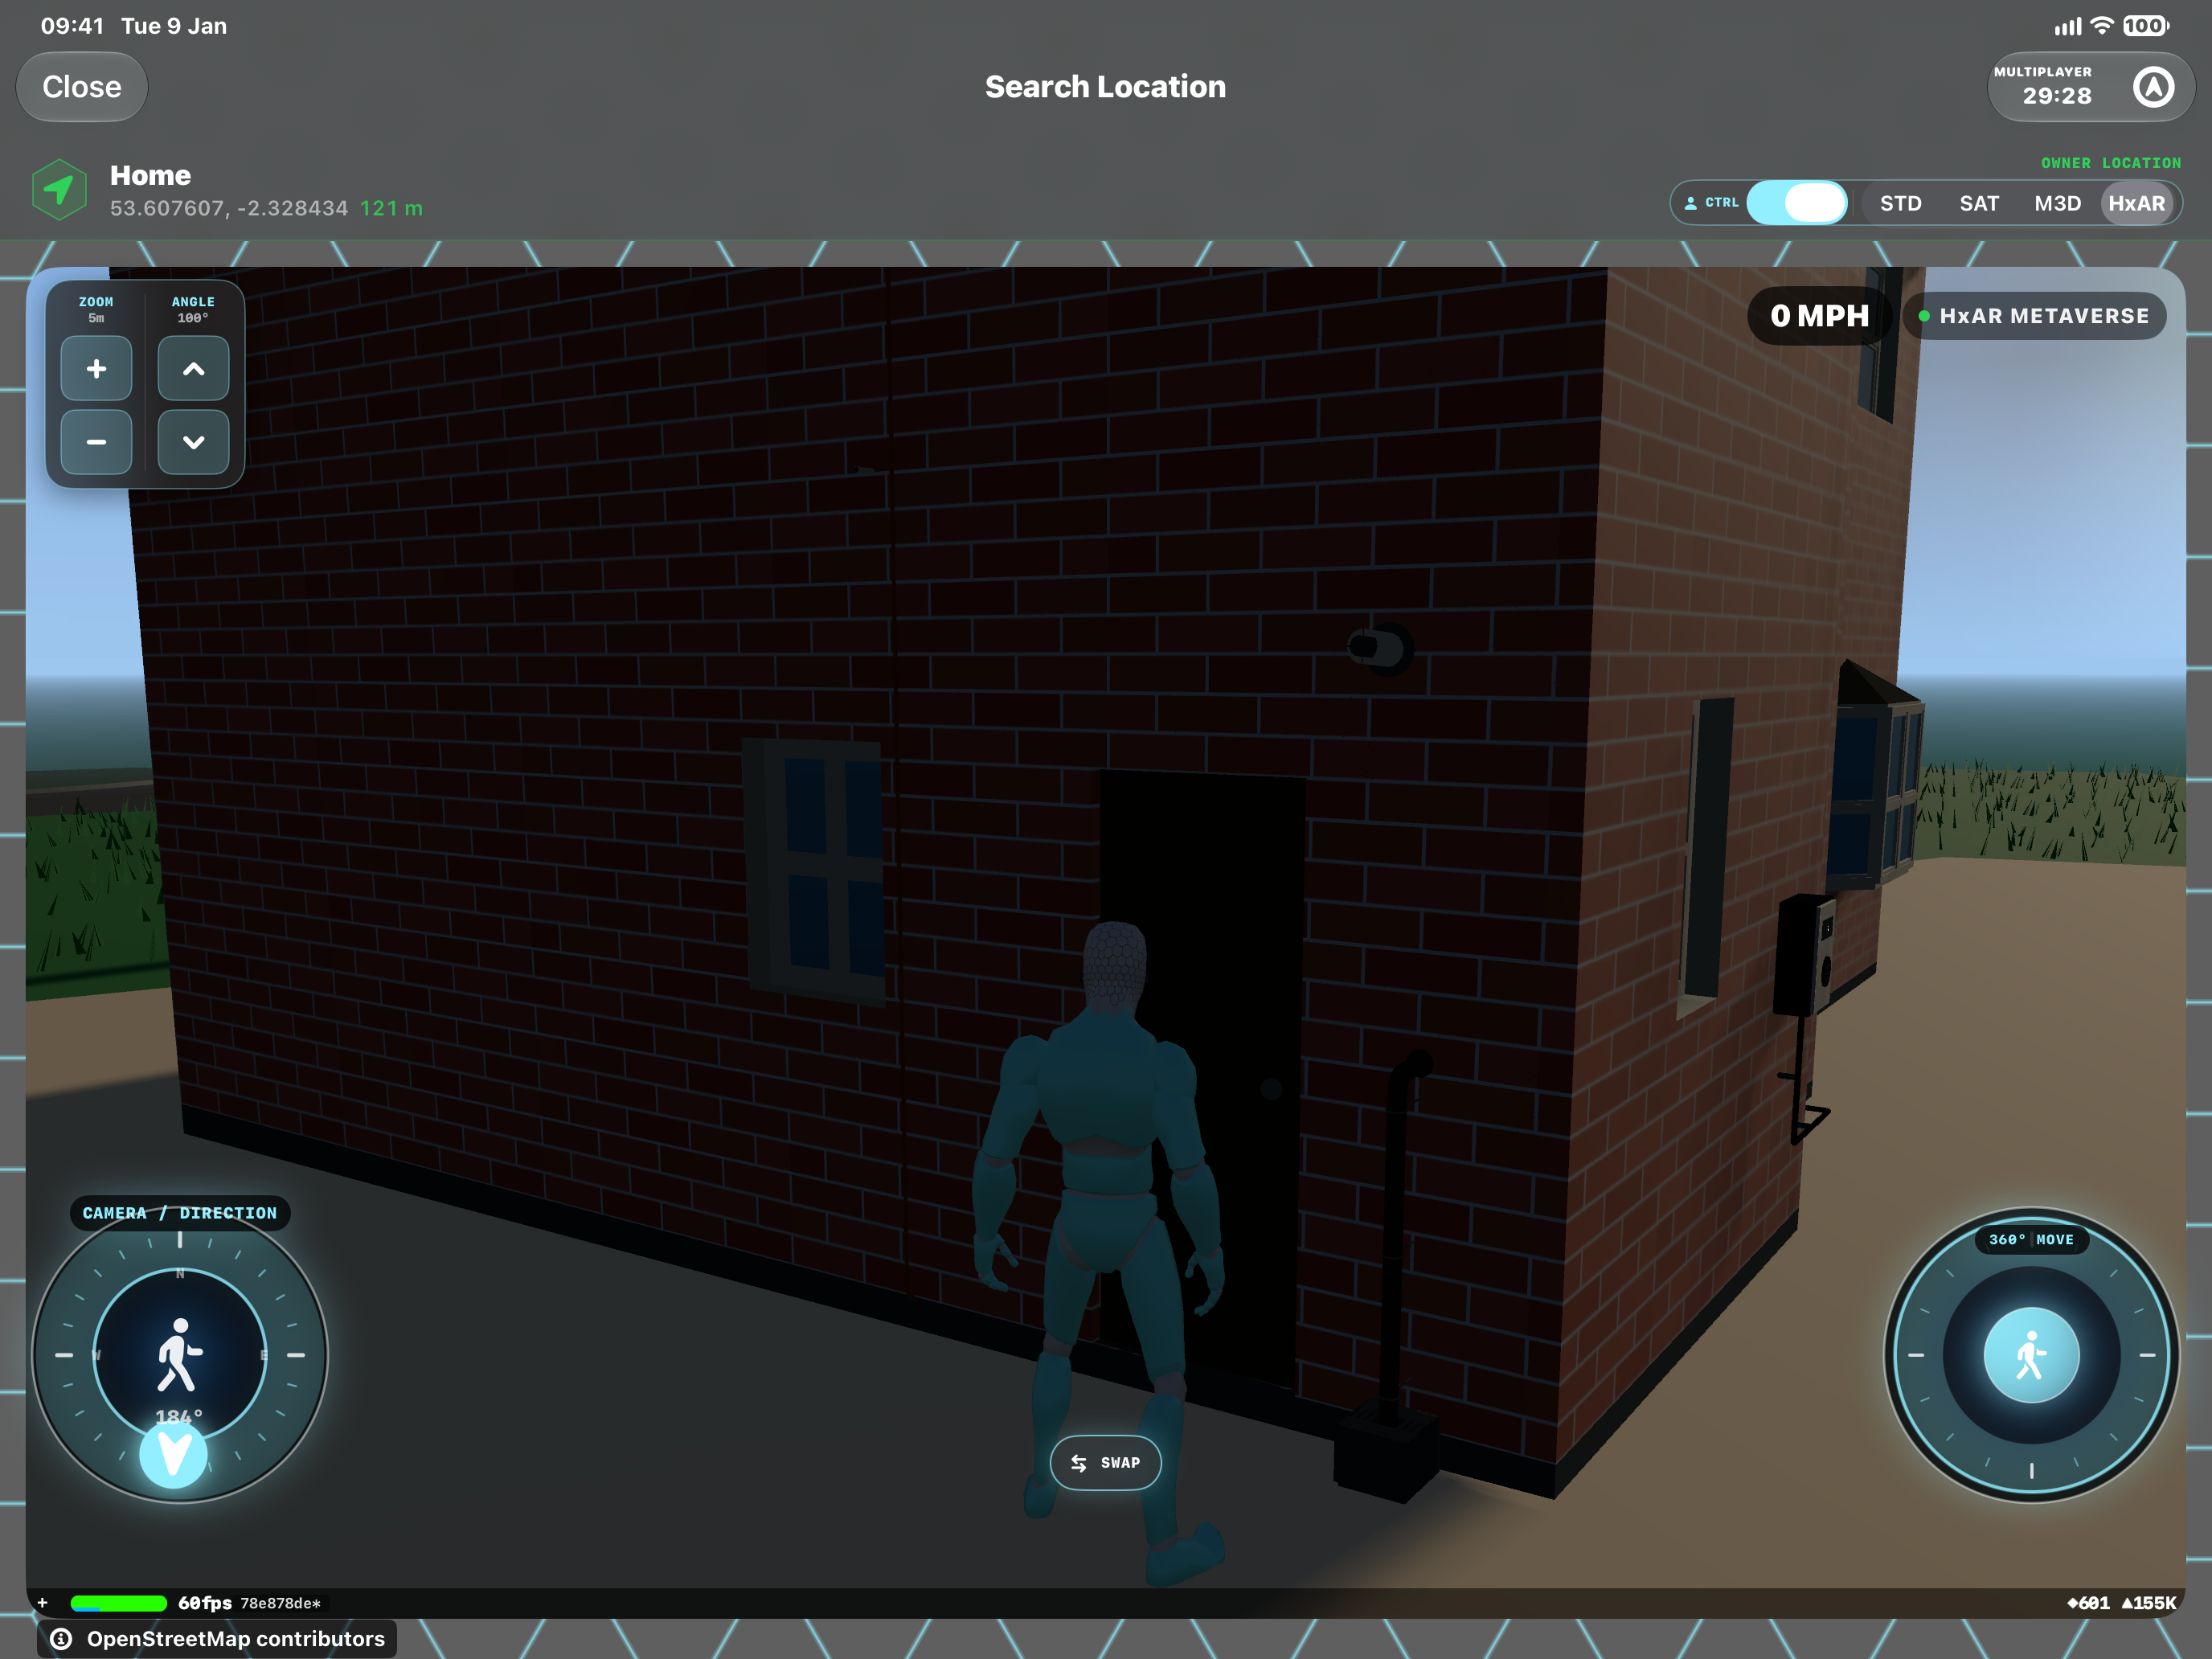
Return outside to inspect the boiler’s wall terminal and external pipework. The rear flue, gas supply and condensate drain are different parts of the model. An external condensate route appears only when the app can form a valid route; check its status in the boiler panel.
Inside, tap the boiler’s gas valve, gas test nipple or manometer to open Boiler gas valve, then choose Gas pipe sizing. This opens a snapshot report with its calculation assumptions and sources. An incomplete route or missing house assessment can leave a result unassessable.
After changing pipes, moving the boiler or using Undo, reopen the report for the updated model. The valve and manometer controls represent simulation states; the report is a virtual design assessment.
Save changes and resolve missing controls
Pipe-routing edits need Save house. Adding or finishing a boiler also attempts to save the house. Wait for House saved or the saved checkmark, and use Retry save if a panel says Save not confirmed.
If Plumbing visibility is missing, select it in Toolbar tools and check that the house contains a relevant gas or water service. If the flame tool is missing, confirm ownership, select Gas boiler in the list and tap a suitable wall.
If the boiler reports no gas connection, check the compatible pipe near its inlet and any obstruction to the joining path. If a warning remains, use the placement panel’s specific message rather than treating a pipe connection as clearance approval.
Use Undo for an available edit, then save again to keep that revised state. Exit house tries to save pending changes; choose Stay if you need to resolve a failed save without leaving your editing session.
Continue with article 40 to add hot water, central heating and radiators, understand automatic floor-pipe connections and compare hidden and revealed plumbing.
Guide path
Move through HxAR one topic at a time.
New topics will be linked back into earlier guides whenever one action leads naturally to another.
Helpful now